
 3-Day Delivery
 Free Delivery on Flooring
 20 Year Warranty
Successful Stratex® Floor Installation: Top Tips
Stratex® is a high-performance product with a rigid mineral composite core and a waterproof surface layer. It’s built to perform in demanding spaces, but it can only do so when installed on the right foundation and with the correct preparation.
Misunderstanding Waterproof Quality
Stratex® planks are 100% waterproof across the surface with a durable PU-coated vinyl layer, making them ideal for bathrooms, kitchens, and light commercial environments.
However, the floating click system beneath isn’t waterproof. Any trapped moisture or undetected dampness below the floor can compromise performance and lead to serious issues such as:
- Joint failure or lifting
- Mould growth and odour
- Trapped condensation
Always assess and manage subfloor moisture before installation, this is key to reliable results.
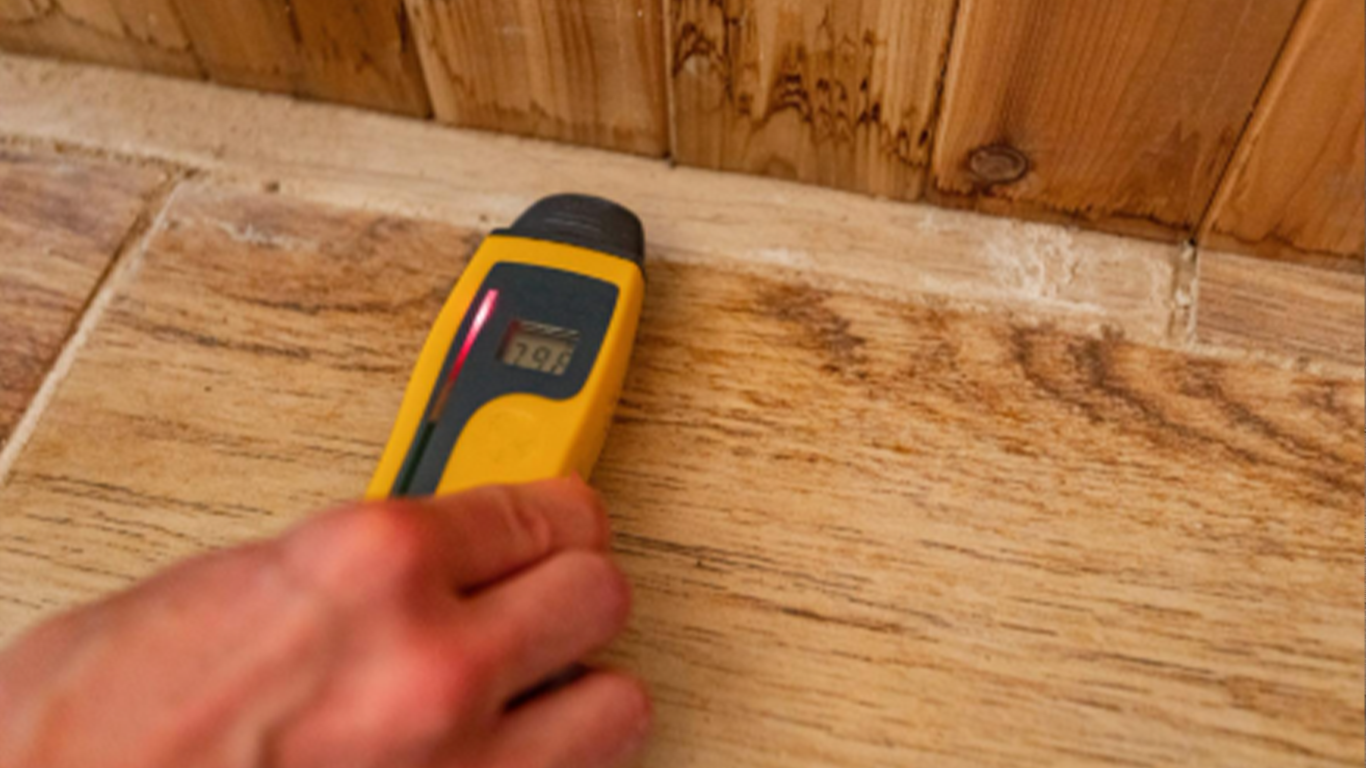
Moisture Testing
Moisture testing is an essential step before installation, even when a subfloor feels dry to the touch. Always perform a professional moisture test before fitting.
Industry guidance for Stratex®:
- Concrete: ≤ 70% RH (in-situ test)
- Timber: ≤ 11% WME
- Anhydrite screeds: ≤ 0.5% CM
Use a Protimeter MMS, Tramex, or CM tester for reliable readings. Skipping this step increases the risk of future movement or instability that may not be covered under warranty.
Do You Need a Damp-Proof-Membrane (DPM)?
If readings exceed 70% RH, you must install a liquid-applied or physical DPM before laying Stratex®.
This isn’t optional, it’s an essential part of the moisture barrier system that helps protect your installation and ensures long-term durability, while maintaining compliance with BS8203 and other relevant standards.
Perimeter Sealing and Expansion Gaps
Never seal expansion gaps. Stratex® is a floating floor, so it must move freely as temperatures fluctuate.
Rigid sealing restricts movement, which can create tension in the boards such as:
- Buckling
- Peaking
- Joint stress and failure
Allow 2–3 mm expansion gaps around all perimeters and fixed points. Cover with scotia or skirting that doesn’t pin the floor down.
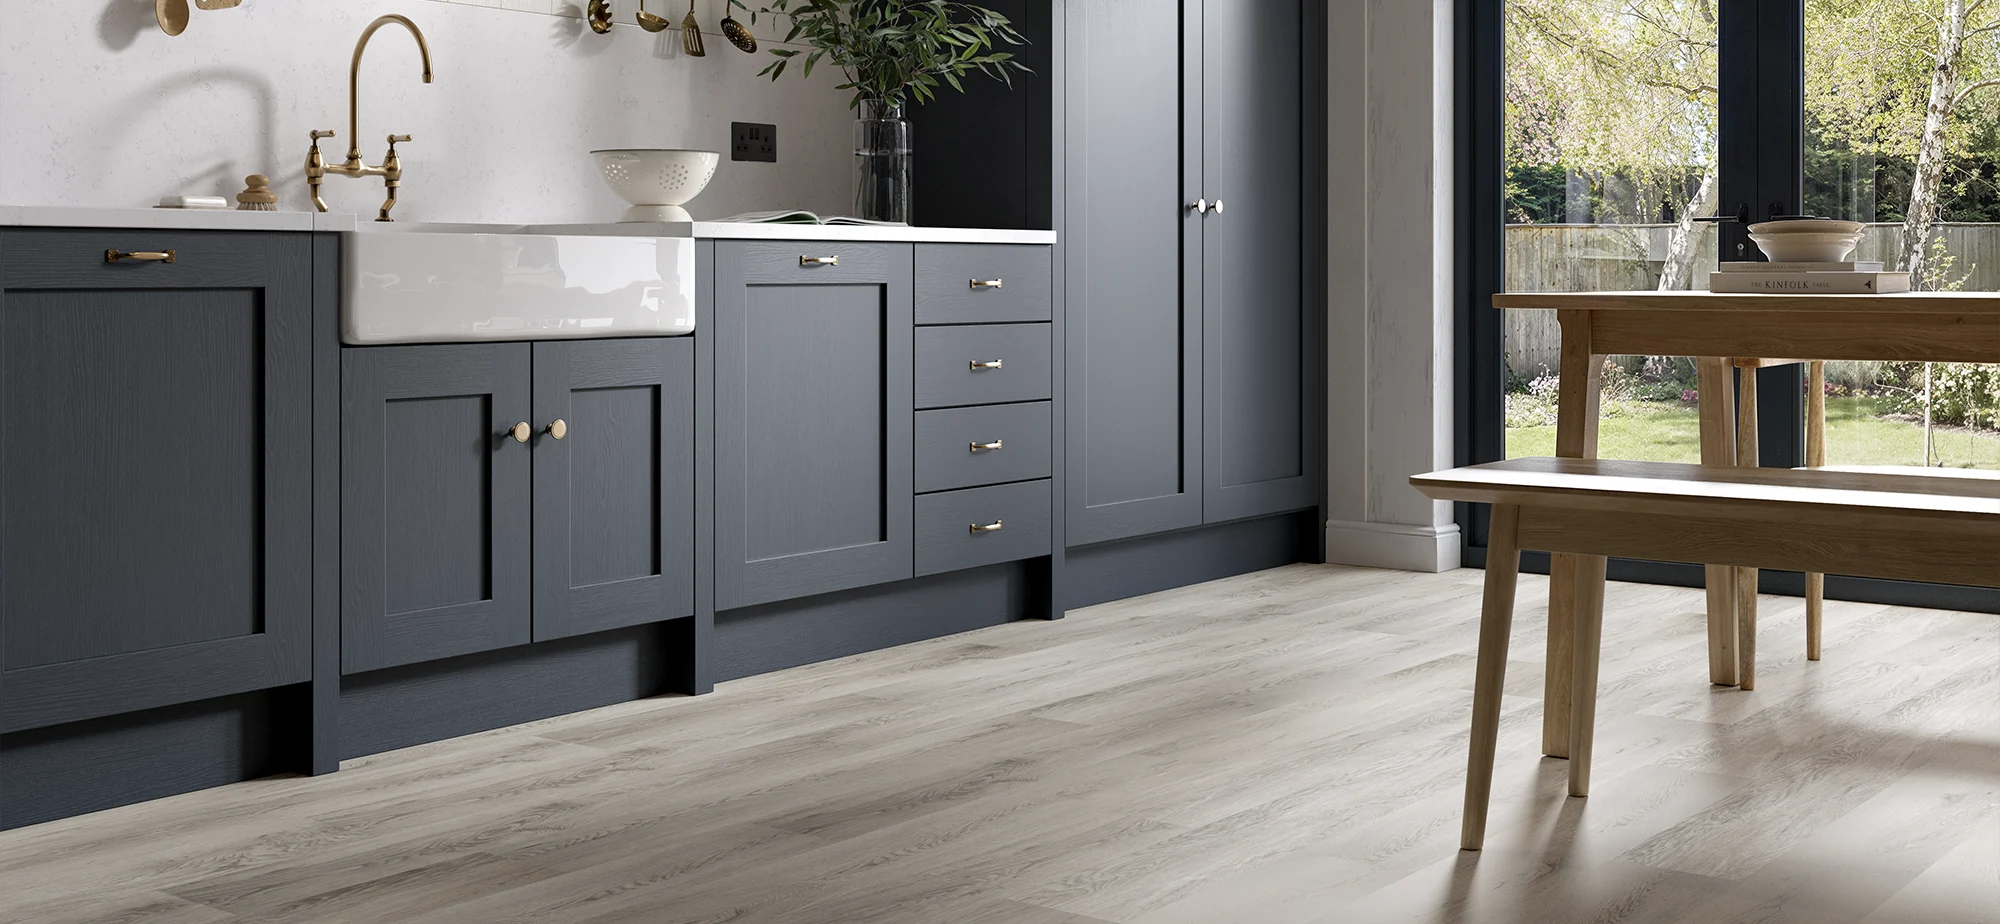
Installing Beneath Fixed Units
Do not run Stratex® underneath kitchen units or heavy islands. The floor needs to move with environmental changes. Trapping it prevents natural movement and can results in uneven surfaces over time.
Best practice:
- Fit the kitchen first.
- Install Stratex® up to the plinth line, maintaining the correct expansion gap.
This approach reduces waste and ensures a smooth, long-lasting finish.
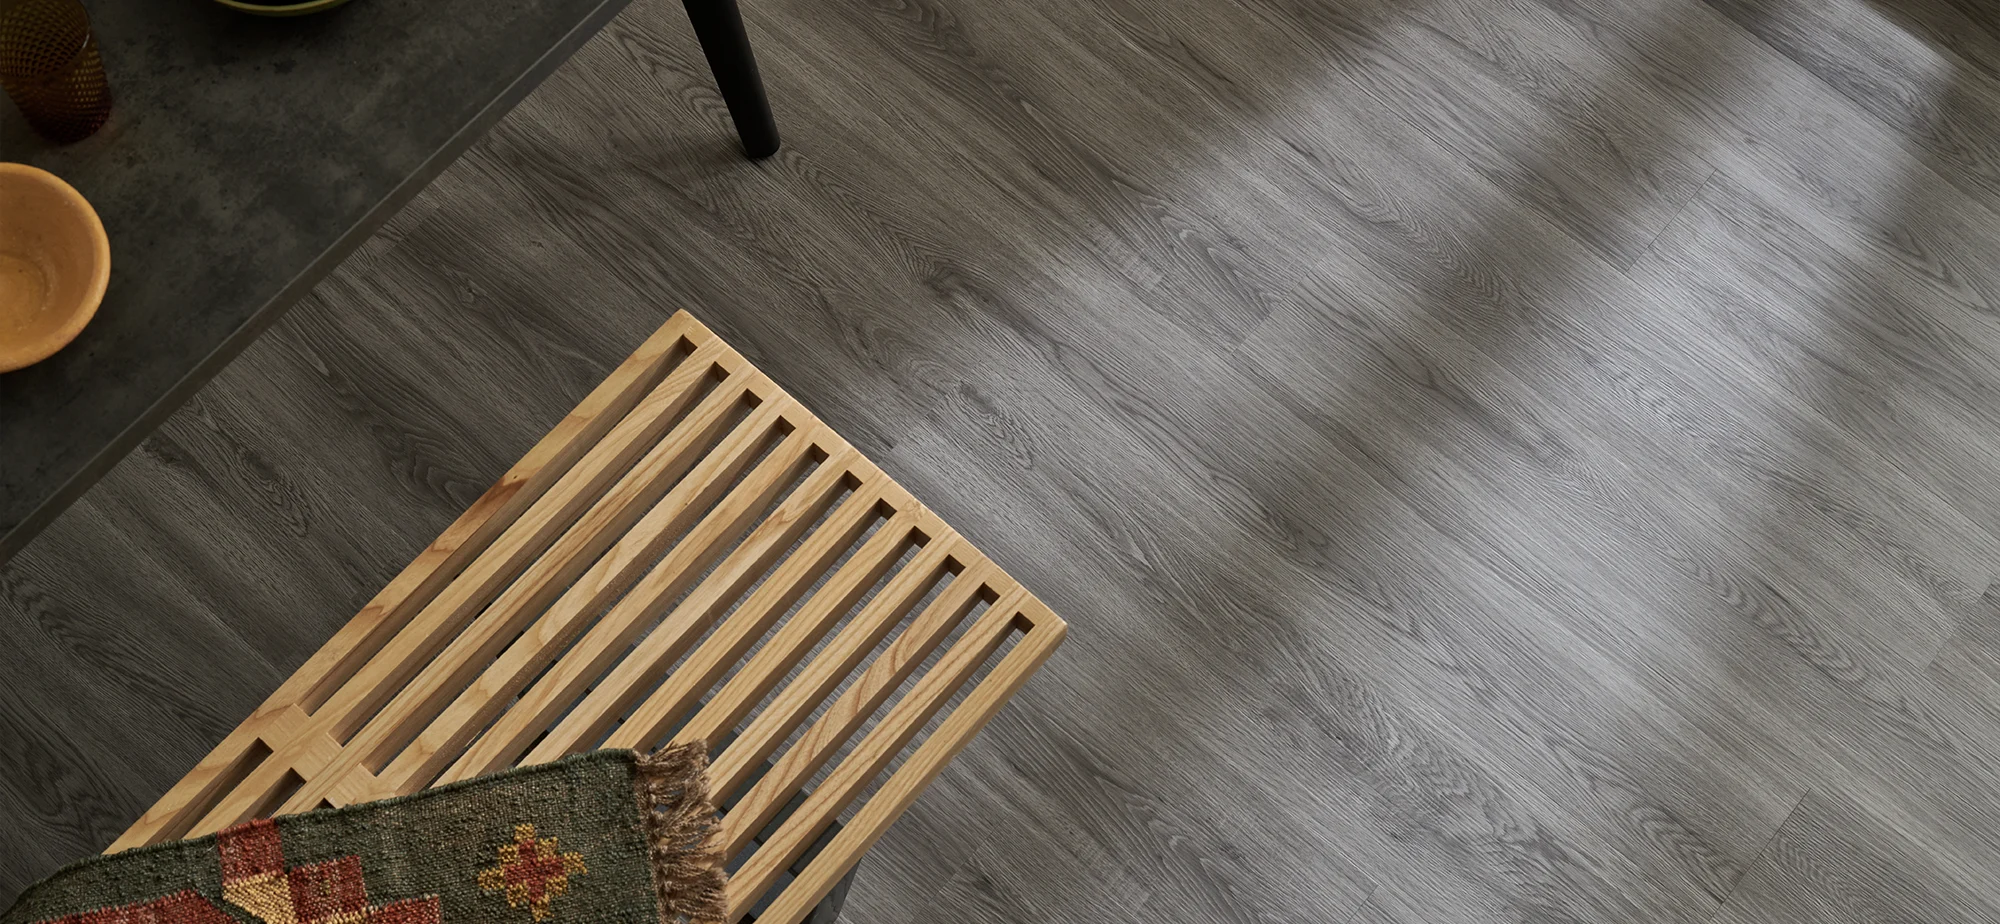
Subfloor Flatness: Meeting the Standard
Stratex®’s rigid core is durable and copes with small imperfections, however, the subfloor still must meet flatness requirements.
British Standard Guidelines:
- SR1 (preferred): ≤ 3 mm deviation over 2 m
- SR2 (acceptable): ≤ 5 mm over 2 m
- SR3 (unsuitable): ≥ 10 mm over 2 m
Check with a 2m straightedge and slip gauge. Level high and low areas before fitting using a compatible levelling compound to achieve the best performance.
Underfloor Heating Protocol
Stratex® performs exceptionally well over underfloor heating, provided you follow the correct procedure:
- Surface temp: never exceed 27°C
- Acclimatise packs: minimum 24 hours in-room before fitting
- Switch off heating: 48 hours before installation
- Restart gradually: increase by 1°C per day post-installation
This process prevents excessive expansion or stress, helping the floor settle perfectly.
Built-In Underlay: Don’t Add More
Every Stratex® board includes an integrated underlay, engineered to balance the board’s structure and joint system. Adding another layer beneath creates unwanted movement, weakening the click joints and compromising performance.
Install Stratex® directly onto the prepared subfloor to maintain stability and longevity.
Getting It Right the First Time
Stratex® is a robust, premium product designed for long-term performance. But even the best materials fail when installation shortcuts are taken.
Always:
- Test moisture accurately
- Prepare and level the subfloor
- Allow proper expansion
- Follow correct UFH and DPM procedures
Doing these steps carefully ensures every Stratex® floor delivers outstanding results, stable, beautiful, and built to last.
What Our Customers Say
Get In Touch
